
How to clean your kitchen appliances properly by Peter E. Dreverhoff

Peter E. Dreverhoff shares his tried-and-tested cleaning tips for blenders and juicers. Find out how to prevent plaque and make your appliances shine. 👨🍳🧼 #kitchen hygiene #cleaning tips
Author: Peter E. Dreverhoff
An old German proverb says: "Where there's planing, there's chipping".
I would like to rephrase: "Where fresh fruit and vegetables are mixed, pressed or processed in any other way, there are deposits".
This is more or less a law of nature and has been on my mind for as long as I have owned blenders, juicers and the like. Cleaning kitchen appliances is therefore one of my favourite things to do, but the joy only comes at the end, when it's shiny and sparkling.
I can therefore look back on a wealth of experience. Because one thing has to be said right at the beginning: these deposits are not just a visual problem, the functionality of the appliances suffers from this coloured plaque. It is amazing how these layers gradually become so entrenched that desperate owners turn to us again and again to find out what they can do to return to a state of original "normality".
Let's go back to the cause: Especially when processing the ever-popular celery stalks, ginger, the colourful turmeric, carrots, beetroot and other vegetables and fruit, minerals and colourings are deposited on the inner walls of the blender jug, the press rollers, juicing sieves and housings. Although this is not a biofilm in which bacteria and microorganisms feel comfortable and multiply, I still recommend regular cleaning.
Video tutorial: How to clean your blender, juicer & co. right to the video
Not just a visual problem - deposits reduce functionality
Cleaning kitchen appliances, or not cleaning them properly, affects the actual functionality of blenders and slow juicers: Previously smooth surfaces become dull, fine sieve holes become clogged and the pressed and blended food is no longer processed as well as it was when it was first used.
Preventing plaque
Let's move on to the practical side: how can plaque be prevented during regular use? It is not enough to simply rinse the parts with water and then leave them to dry. This is exactly where the situation starts to become a problem. As long as the parts are still shiny and damp, the deposits are not recognised as such and everything looks perfectly clean. Once everything is nice and dry, the surprise comes: the plaque comes out in the open.
This habit of cleaning affected appliance parts and then placing them on the worktop to dry is part of the problem. Together with the limescale residues from the rinsing water and the ingredients from fruit and vegetables described above, one layer after another gradually builds up.
Incidentally, this phenomenon is completely independent of the material from which the affected items are made! It doesn't matter whether it's a stainless steel juicer costing almost €2,000 or an entry-level plastic appliance for €100.
Establish a simple cleaning routine with the right products
That's why every owner of slow juicers and blenders needs to tackle this issue and not trivialise it. I have developed a cleaning technique for our customers that requires little effort, only a few natural aids and is very effective!
Depending on the degree of soiling, this should be used regularly to avoid visible plaque. Either an acid or an alkaline (basic) solution can be used to support this.
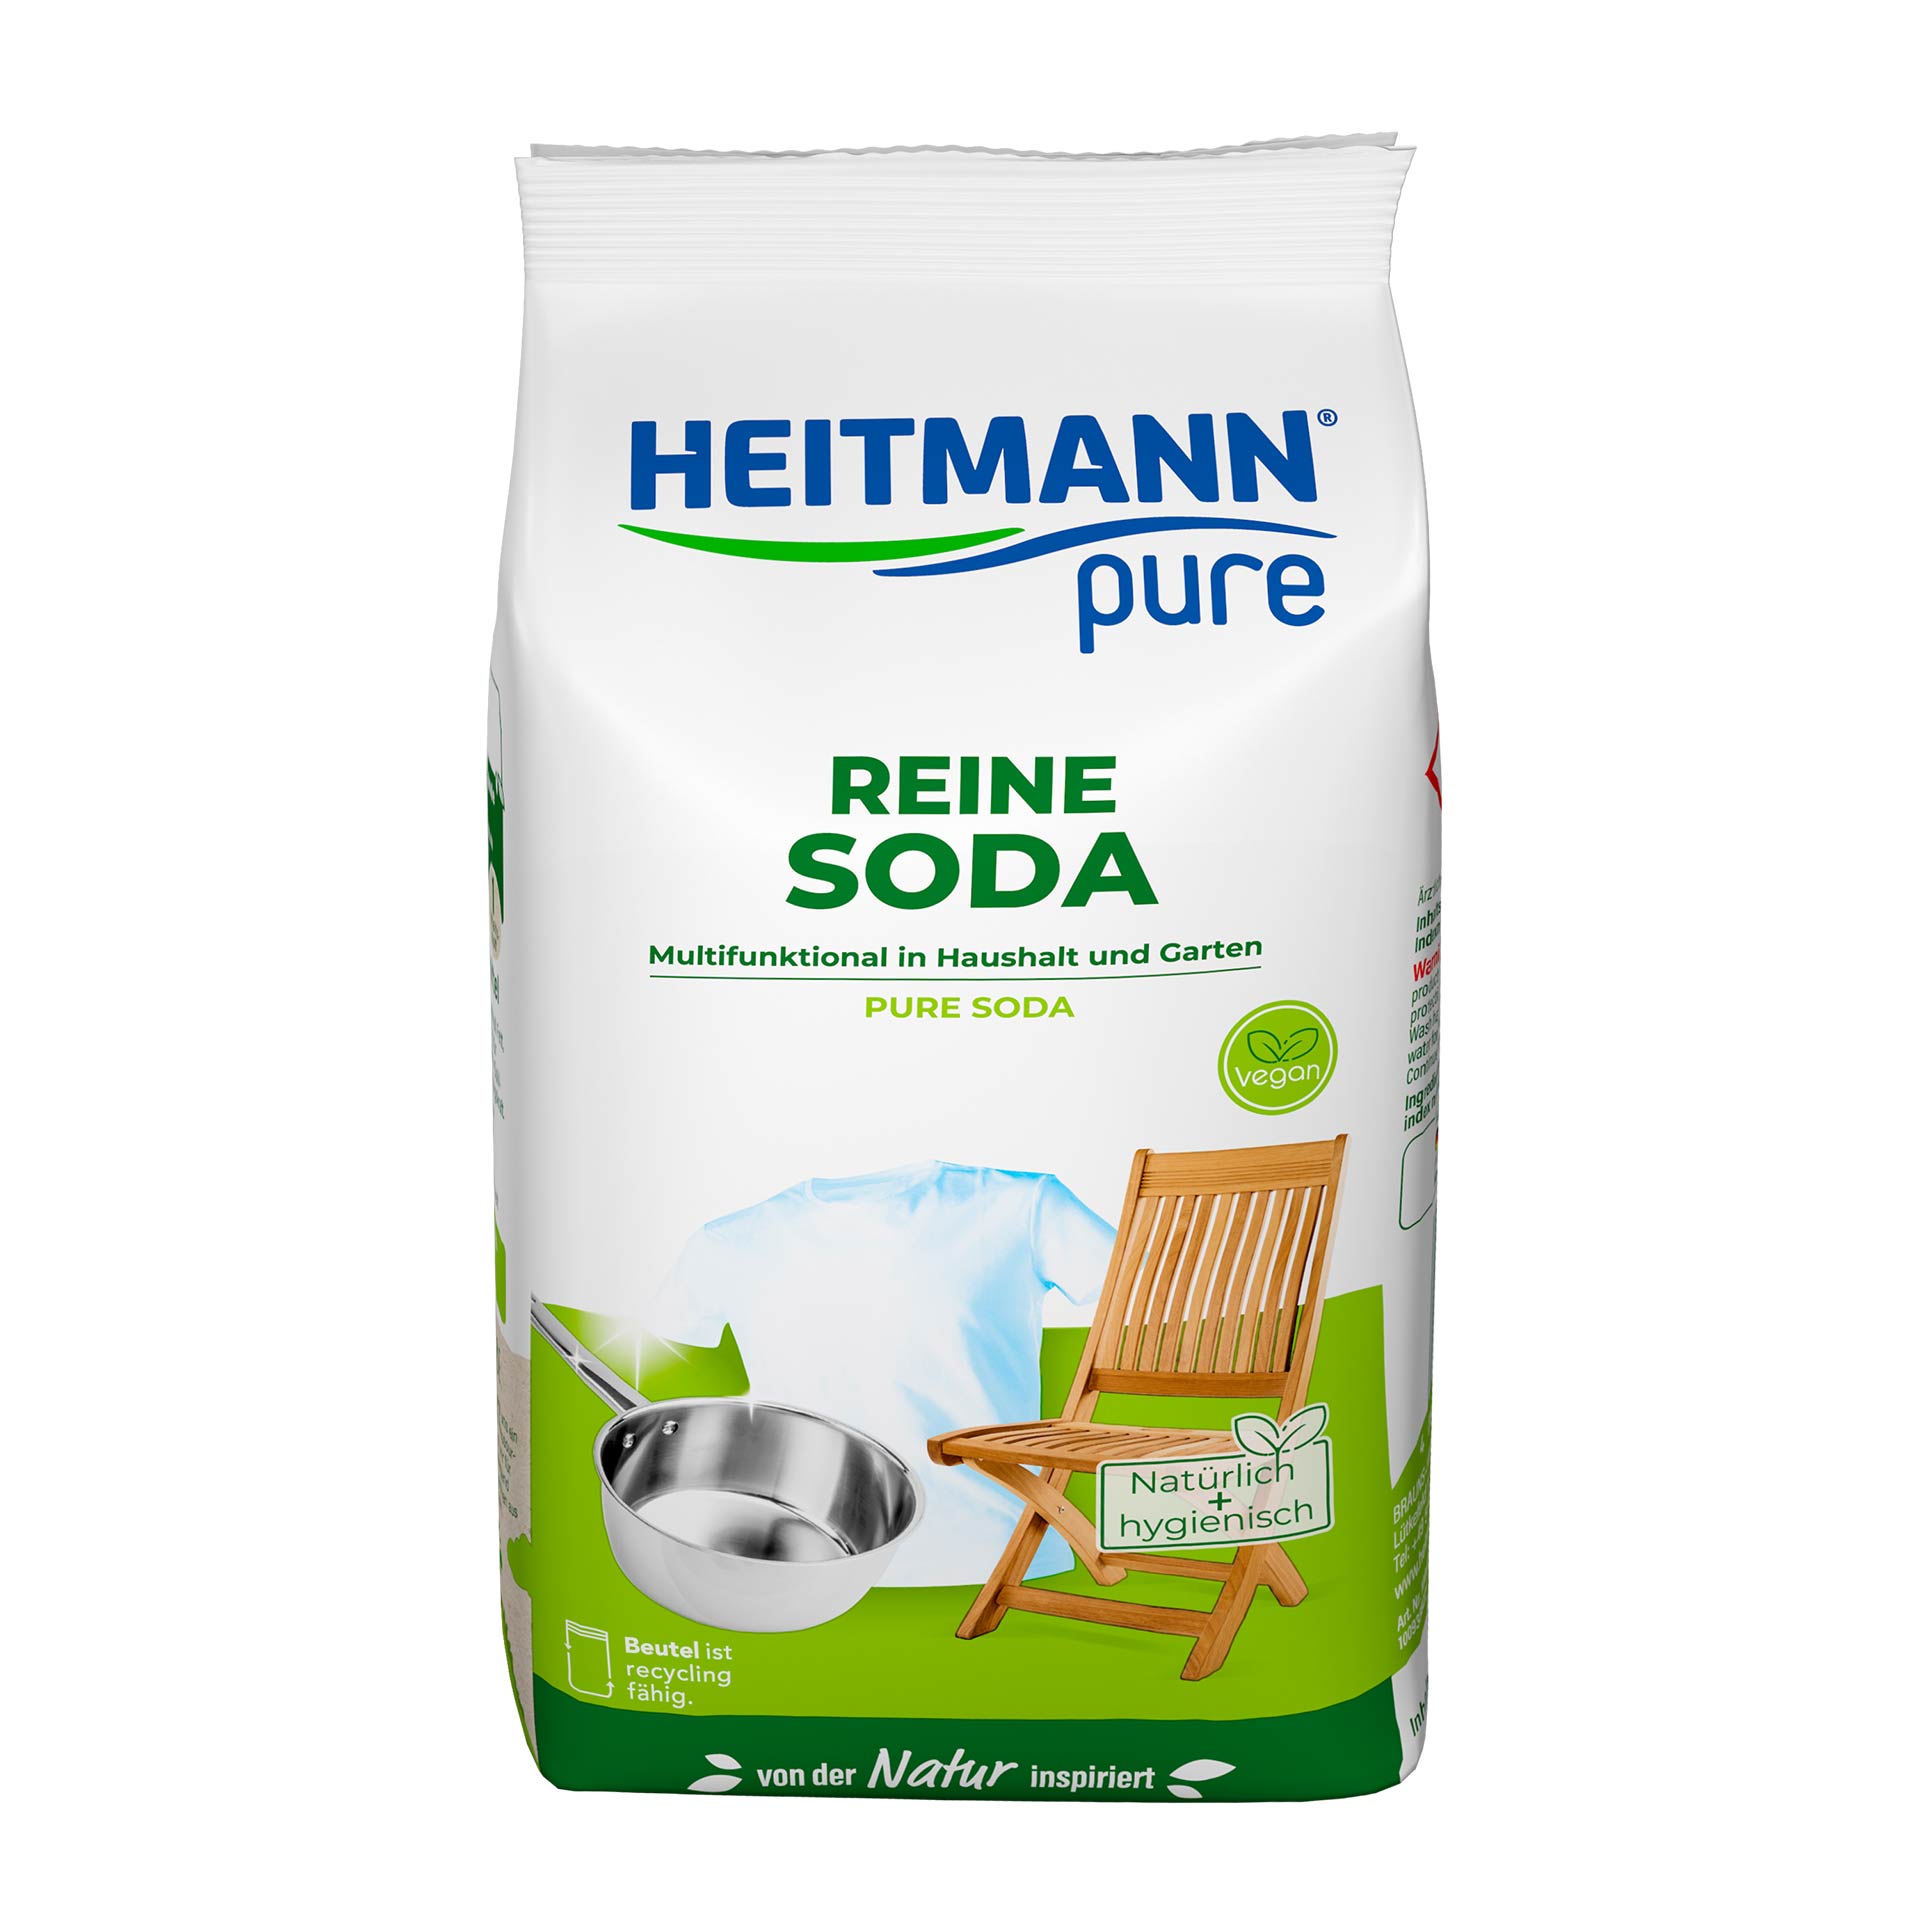
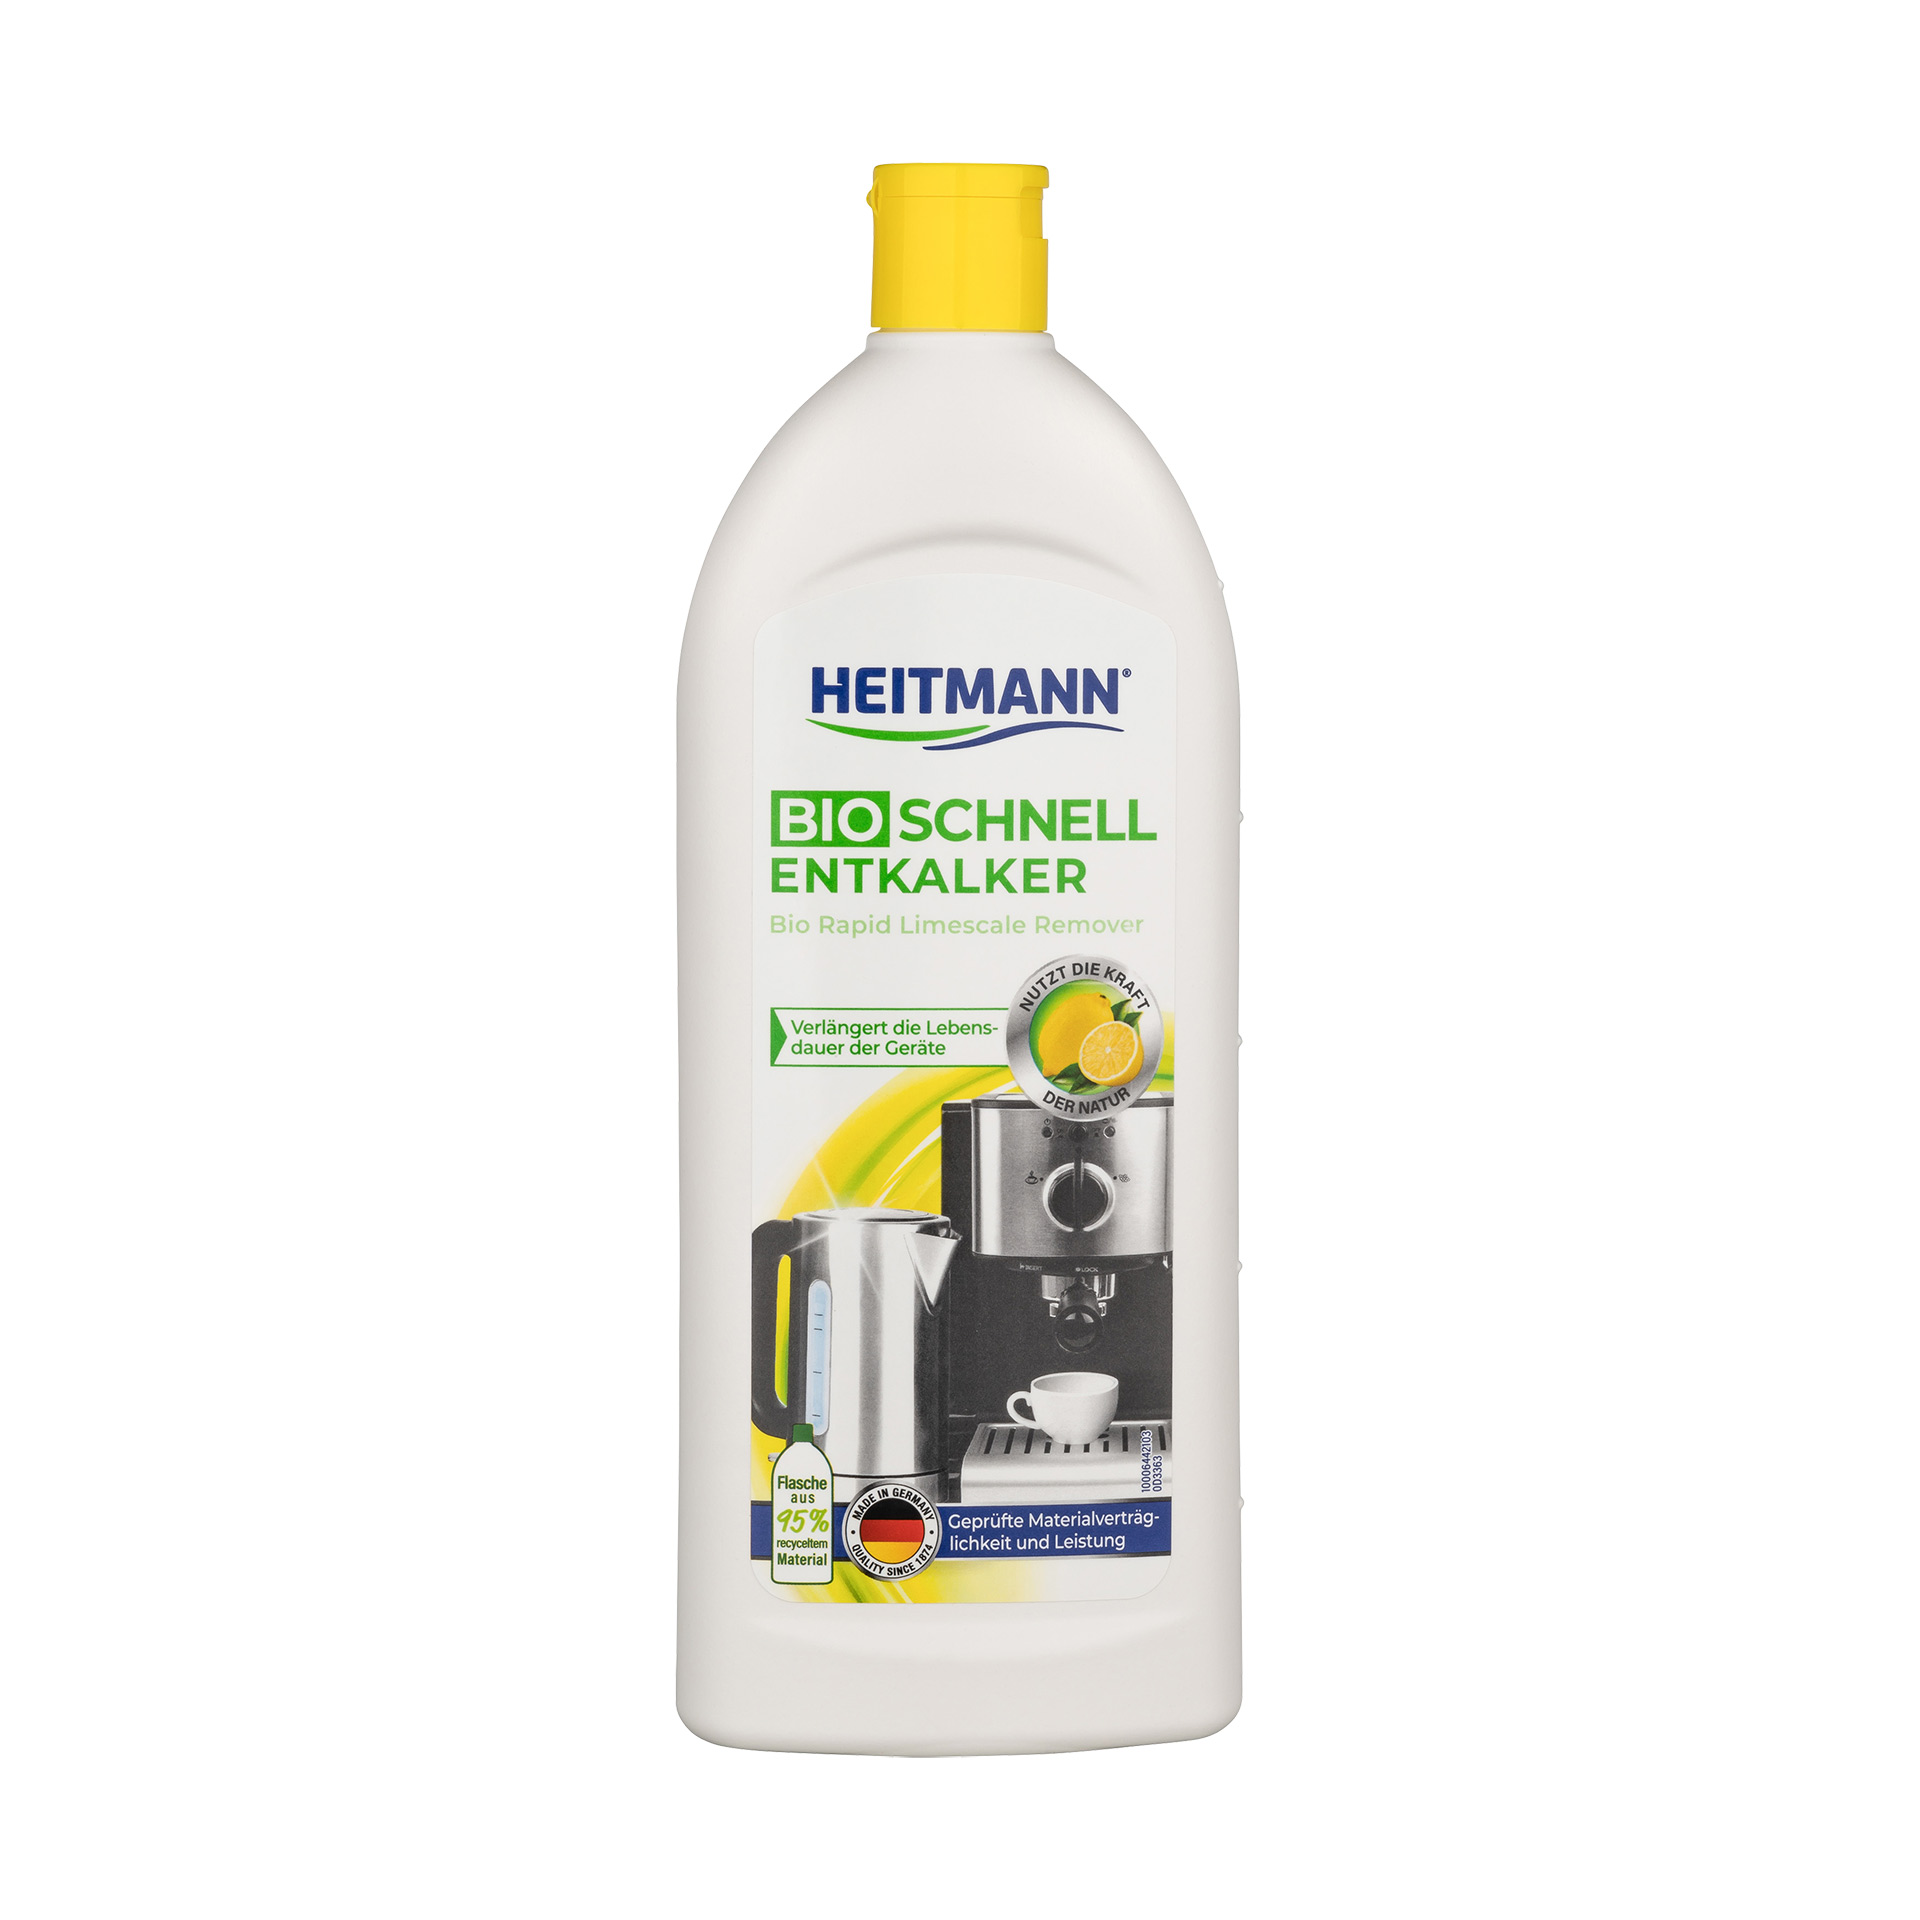
Pure limescale deposits, such as those on the water filter, can be treated with an acidic descaling agent. Here I recommend HEITMANN organic quick descalerwhich consists of a unique mix of acids that can dissolve any limescale deposits. Deposits on blender jugs and juicing containers are best treated with an alkaline solution. My experience has shown that soda works even better than baking soda when cleaning kitchen appliances. Here I favour the product "Pure Soda" from the company Heitmann from the Heitmann pure range, as it can be processed into a solution or paste.
How it works
For the first dissolving, take a suitable container in which you soak the parts together or one after the other. Always immerse all parts completely in the solution so that no edges form. The best dosage I recommend is 1 heaped tablespoon of soda to 1 litre of warm water. This works on the deposits overnight (8 hours) - regardless of whether your juicer or blender jug is made of stainless steel or plastic.
Please note the areas that are particularly affected because, as already mentioned, these are barely recognisable when wet. After this soaking time, remove the remaining deposits with a hard brush. A little scrubbing is part of cleaning kitchen appliances. A dry microfibre cloth can also be helpful for the still damp appliance parts.
Removing stubborn deposits
For stubborn deposits, you can also make a paste with soda and water. To do this, mix 1 tablespoon of soda with 1 tablespoon of warm water to form a paste and apply to the area. Then brush immediately with a hard brush.
Please always wear gloves when working with soda, as it can irritate the skin. But this is also the only danger with the agents, otherwise they are absolutely harmless if they get into our pipes or the environment with the washing water.